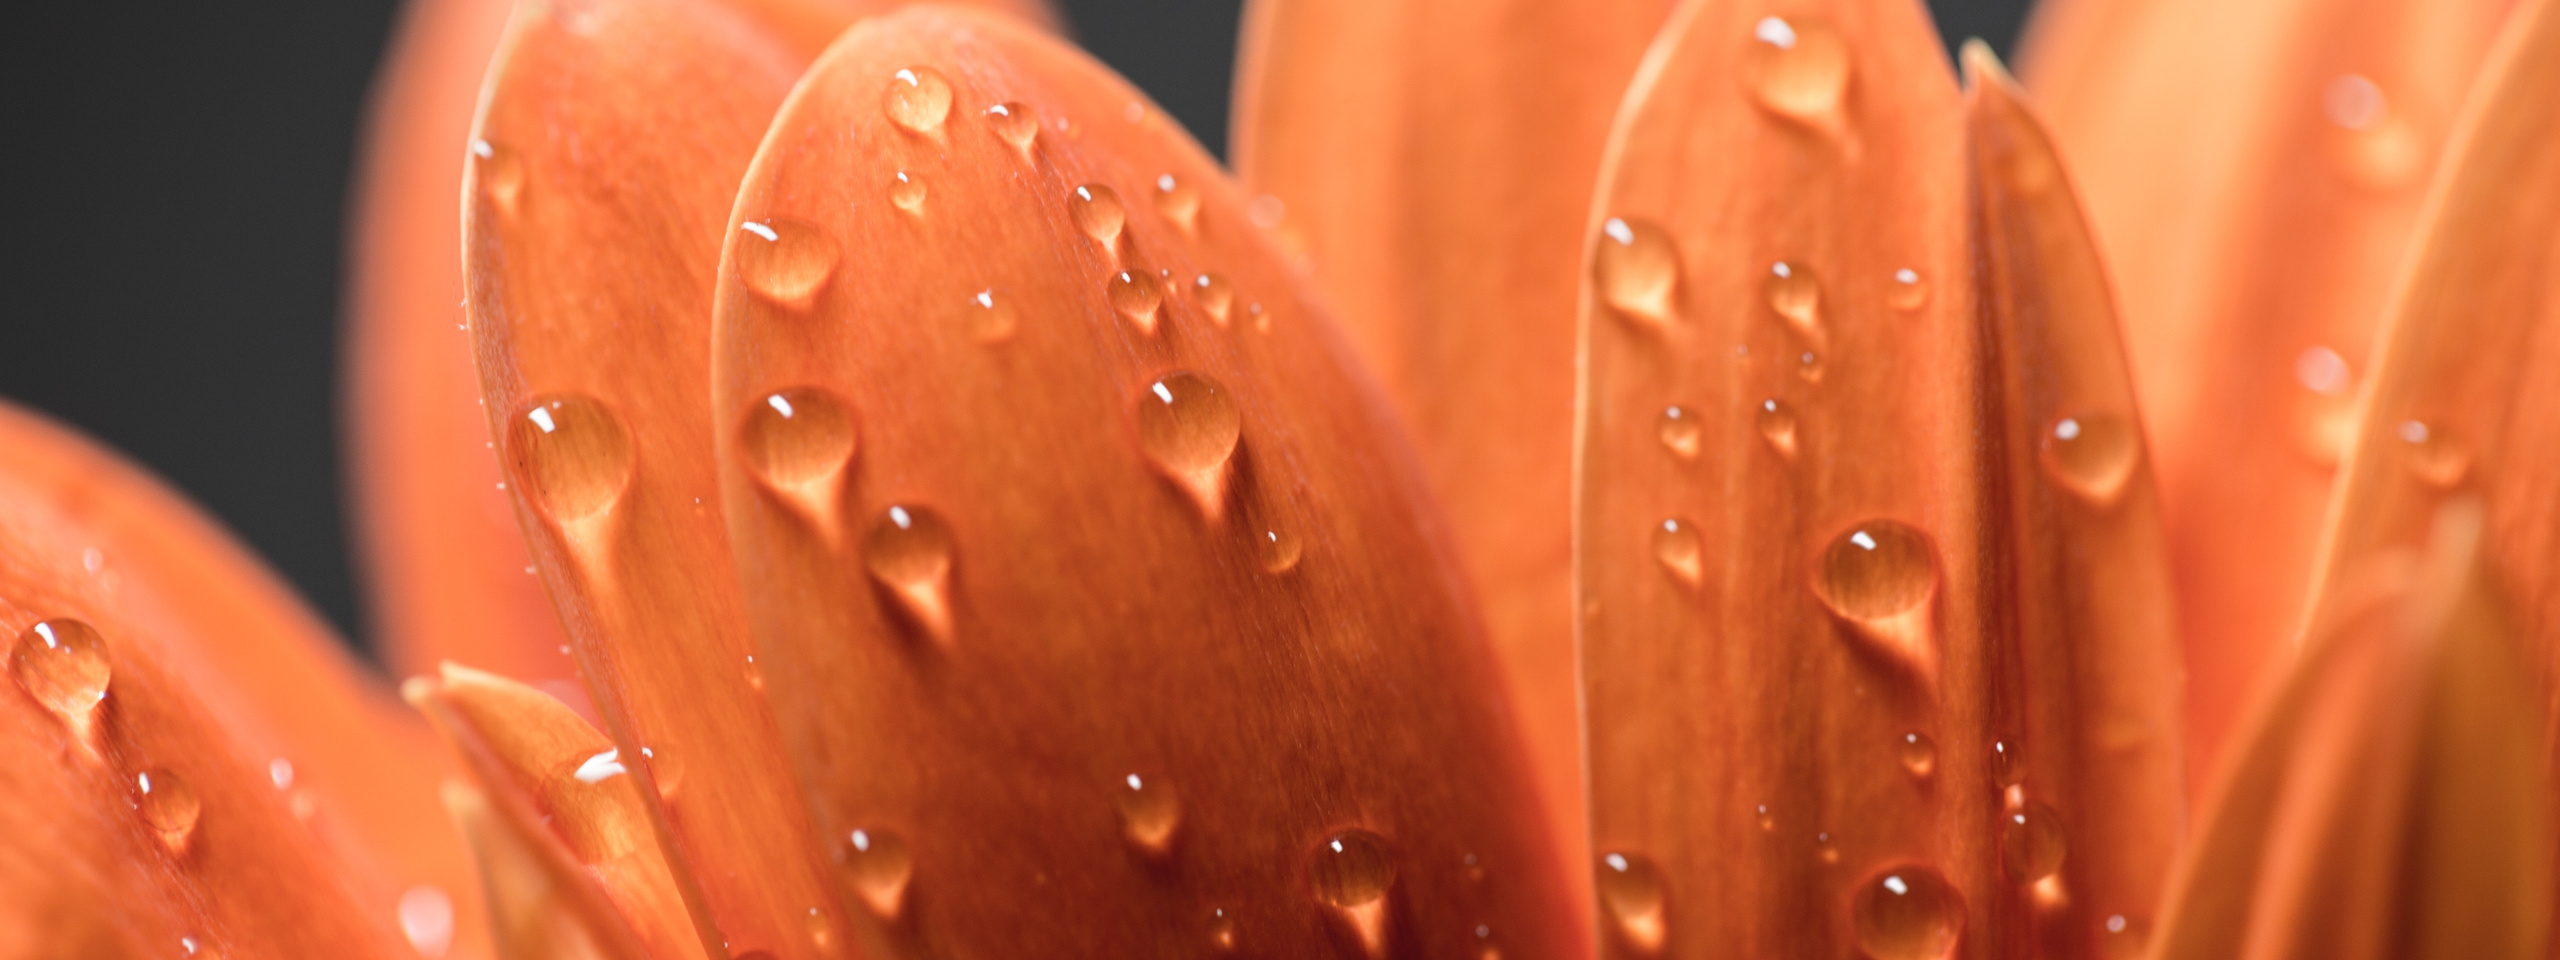
Returning to photography after a lengthy sabbatical is in part inspired by Instagram. A long time friend of mine has an instagram account with macro photography that she takes with her iPhone and specialised lenses. I originally started out with my iPhone on a series called 'Follow the Thames' in which I documented my journey up and down the Thames River in the UK. I was hoping to start a blog documenting people who live and work beside the river and river life in general but other work was prioritised over this.
However, so inspired by her instagram feed, I decided to purchase my first macro lens Canon EF 100mm f/2.8L Macro IS USM and give it a go — a pricey little lens. The images in my Macro Gallery are my first attempt. It’s a whole new world that makes it all the more intriguing. The set up for the photography was very basic with a tripod, camera, LED desk lamp with various brightness and hue settings and a spray water bottle. I used very little post production for these and the colours were captured amazingly. The lens was really easy to work with and the image quality is right up there however, I still wanted to get closer to the subject.
I found this really great and inspiring article on macro photography by Robert K Baggs called — The Ultimate Guide for Macro Photography Beginners and will look at purchasing reverse rings, possibly a macro LED flash ring to light up the subject and extension tubes. As he states in the article, regular flashes are not ideal, as the closer you are to the subject, the flash lights up way beyond it leaving the subject in the dark.
Some pointers I picked up from reading the article and my own experience with macro apart from the obvious equipment needed:
- Lighting — this is a difficult one. Living in a sunny region, doesn’t always guarantee reliable natural light and it pays to have a lamp or at the very least reflectors. But reflectors can be cumbersome to position and by the time you’ve set it all up, your subject has calmly wandered off looking for better action. Light diffusers also help to cut down overexposed areas as most insect will have reflective surfaces.
- Camera Settings — keep testing, play around and try new things to find your ideal settings. The more you practice the easier it will be to identify the right conditions and settings for the situations you come across.
- Patience will pay off.
- Look harder.
- So what subjects do you photograph with macro? Well — anything really. In the garden it could be insects, plants and textures and inside the home it could be food, computer parts, haberdashery or flowers for example.
- I hope you enjoy macro photography like I do and although you may find one particular subject right for you at the moment such as landscapes, broaden your horizons, push the boundaries and learn something new every day.
BLOG
ISO for beginners — what you should know
Common Camera Issues when Travelling and How to Fix Them
Discovering Photographic Destinations: A Personal Perspective
Protecting our Shores for Future Generations | Ocean Awareness in South Africa
Where to Sell Photography Online as a South African Artist
5 Key Rules to Follow When Composing a Photograph
Things to do in the Overberg
6 Tips for Capturing Beautiful Sunsets
Roadtripping South Africa | Part 2/3
Extend your Range
Marketing your Art
Capturing Summer Landscapes in South Africa: Embracing the Beauty of the Season
Setting Photography Goals for the Year: Inspiring Your Photographic Journey


